
Hey there! As a supplier of Electric Window Treatments, I often get asked about how to install the motor for these nifty window coverings. Today, I'm gonna walk you through the whole process step by step.
First off, let's talk about why you'd even want to install an electric motor for your window treatments. Well, it's super convenient. You can open and close your blinds or shades with just a push of a button. No more struggling with cords or chains. It's also great for hard - to - reach windows. And if you're into smart home tech, you can even integrate your electric window treatments with your home automation system.
What You'll Need
Before you start the installation, make sure you have all the necessary tools and materials. You'll need a drill, a screwdriver set (both flat - head and Phillips), a measuring tape, a level, and of course, the electric motor and the window treatment itself. Oh, and don't forget about the mounting brackets that usually come with the motor.
Step 1: Measure and Plan
The first thing you gotta do is measure the window. You need to know the width and height of the window opening. This will help you determine where to place the motor and the mounting brackets. Use your measuring tape to get accurate measurements. Then, decide whether you want to mount the motor inside the window frame (inside mount) or on the outside of the frame (outside mount).
If you're doing an inside mount, make sure there's enough space for the motor and the window treatment to fit. You don't want it to be too tight. For an outside mount, you have a bit more flexibility, but you still need to make sure it looks good and is secure.
Step 2: Mount the Brackets
Once you've decided on the mount type and measured everything, it's time to mount the brackets. Use your drill to make holes in the window frame or the wall where you want to place the brackets. Make sure the holes are the right size for the screws that come with the brackets.
Use the level to make sure the brackets are straight. If they're not, your window treatment might not work properly. Once the holes are drilled, screw the brackets into place. Make sure they're nice and tight.
Step 3: Install the Motor
Now it's time to install the motor. Most electric motors for window treatments come with a mounting plate. Line up the motor with the mounting plate on the brackets. There are usually some alignment marks or holes that you need to match up.
Once the motor is lined up, use the screws that come with the motor to attach it to the brackets. Make sure the motor is firmly attached. You don't want it to come loose later.
Step 4: Connect the Window Treatment
After the motor is installed, it's time to connect the window treatment to the motor. This can vary depending on the type of window treatment you have. For example, if you have blinds, there might be a special adapter or connector that you need to use to attach the blinds to the motor.
Follow the instructions that come with your window treatment to make sure you connect it correctly. It's usually a matter of sliding or snapping the window treatment onto the motor.
Step 5: Wiring
Now for the wiring. This is an important step, so make sure you follow the instructions carefully. Most electric motors for window treatments come with a power cord. You'll need to connect this cord to a power source.
If you're using a standard electrical outlet, make sure the cord is long enough to reach. You might need to use an extension cord if it's not. If you're integrating the motor with a home automation system, you'll need to follow the wiring instructions for that system.
Step 6: Test the Motor
Once everything is installed and wired, it's time to test the motor. Plug in the power cord and use the remote control or the wall switch (depending on what came with your motor) to open and close the window treatment.
If it doesn't work, check the wiring first. Make sure all the connections are secure. If the motor still doesn't work, there might be a problem with the motor itself. You might need to contact the manufacturer for further assistance.
Tips and Tricks
- If you're not comfortable with electrical work, it's a good idea to hire a professional electrician to do the wiring for you.
- Make sure you read the installation instructions that come with your motor and window treatment carefully. They're there for a reason!
- If you have any questions during the installation process, don't hesitate to reach out to us. We're here to help.
Related Products
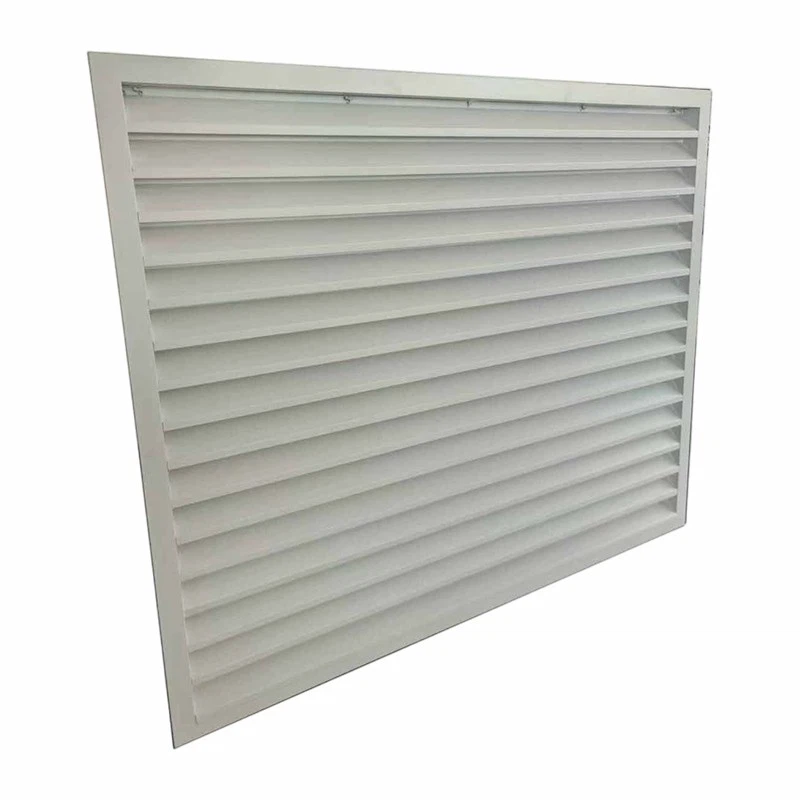
We also offer a variety of other products that can enhance your window treatment experience. For example, we have External Louvre Vent, Spherical Nozzle, and Swirl Air Outlet. These products can add functionality and style to your windows.
Contact Us for Purchasing
If you're interested in our Electric Window Treatments or any of our other products, we'd love to hear from you. Whether you're a homeowner looking to upgrade your windows or a contractor working on a project, we can provide you with the high - quality products and support you need. Just reach out to us, and we'll be happy to discuss your needs and provide you with a quote.
References
- Manufacturer's installation guides for electric window treatment motors.
- General knowledge of home improvement and electrical work.