
Hey there! As a supplier of strip air outlets, I've seen firsthand how a well - installed strip air outlet can make a huge difference in a space. In this blog, I'm gonna walk you through the process of installing a strip air outlet in a partition wall.
Step 1: Planning and Preparation
Before you start the installation, you need to do some planning. First, measure the partition wall where you want to install the strip air outlet. You need to know the exact dimensions to ensure that the outlet fits perfectly. Make sure to check the wall material as well. Is it drywall, concrete, or something else? Different materials will require different installation methods.
Next, decide on the location of the air outlet. Consider factors like the airflow pattern you want to achieve, the proximity to other objects in the room, and the overall aesthetic of the space. For example, if you're installing it in an office, you might want it to be unobtrusive but still effective in distributing air.
Gather all the tools you'll need. This usually includes a drill, a saw (if you need to cut the wall), a level, a tape measure, and some screws or nails. You'll also need the strip air outlet itself, of course. And don't forget safety equipment like goggles and gloves.
Step 2: Cutting the Hole in the Partition Wall
Once you've planned everything out, it's time to cut the hole in the partition wall. Use your tape measure to mark the exact location and size of the hole according to the dimensions of the strip air outlet. If you're working with drywall, a drywall saw can do the job easily. For concrete or brick walls, you might need a more heavy - duty drill with a masonry bit.
Be careful when cutting the hole. Make sure to follow your markings precisely. A poorly cut hole can lead to a loose fit for the air outlet, which can cause air leakage and reduce the efficiency of the ventilation system.
Step 3: Installing the Frame
After cutting the hole, it's time to install the frame of the strip air outlet. The frame is what holds the outlet in place and provides a seal around it. Place the frame in the hole and use a level to make sure it's perfectly horizontal or vertical, depending on how you want the outlet to be installed.
Secure the frame to the wall using screws or nails. Make sure it's firmly attached so that it won't come loose over time. If you're working with a metal frame, you might need to use self - tapping screws.
Step 4: Inserting the Strip Air Outlet
Once the frame is in place, carefully insert the strip air outlet into the frame. Make sure it fits snugly. Some outlets might require you to align certain tabs or grooves for a proper fit.
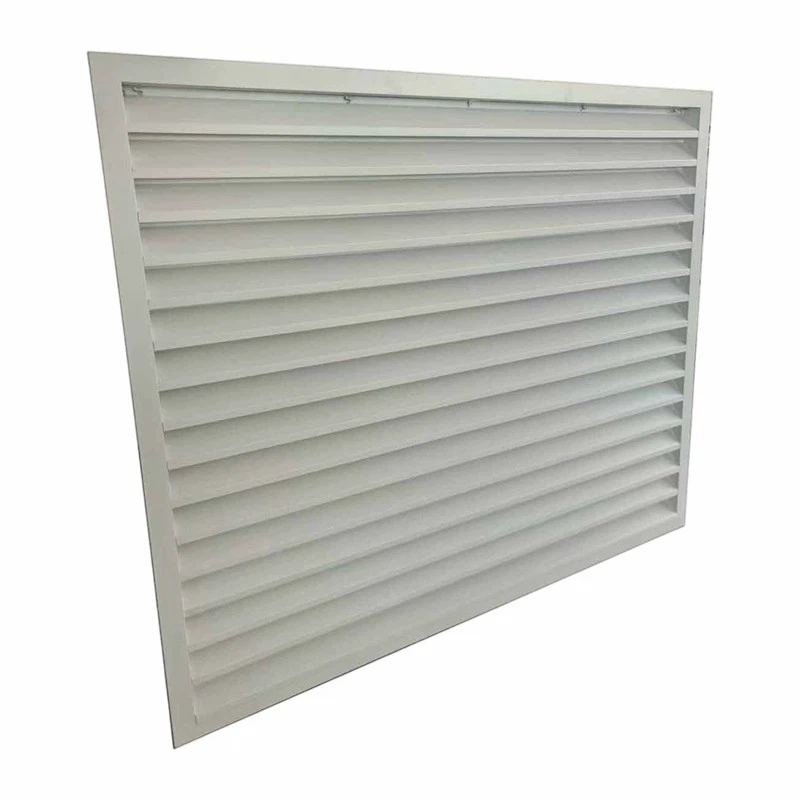
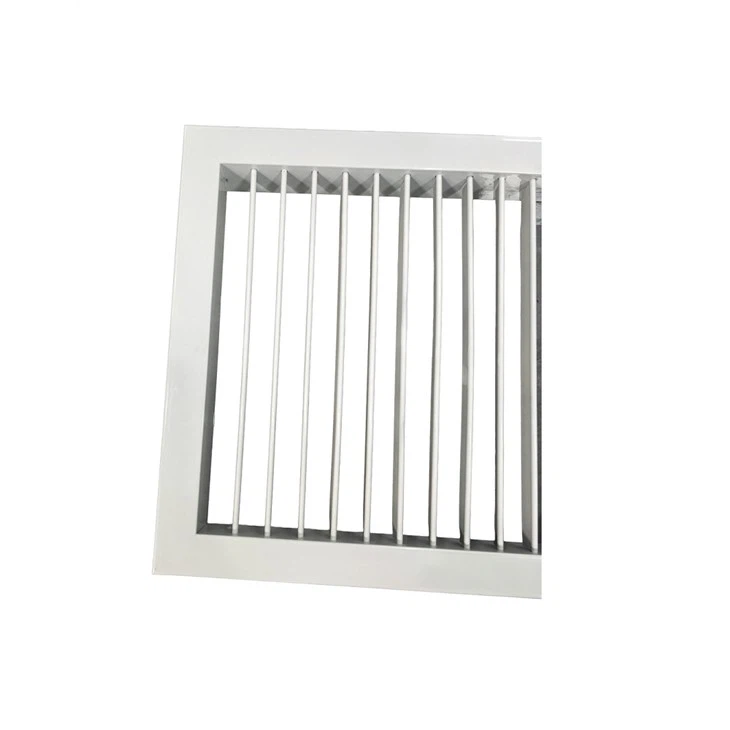
If the outlet has adjustable louvers, you can adjust them at this stage to control the direction of the airflow. You can also choose different types of air outlets depending on your needs. For example, if you want a more focused airflow, you might consider a Swirl Air Outlet. If you need more flexibility in adjusting the airflow direction, an Adjustable Louvre Vent could be a good choice. And if you're looking for an outlet for external use, check out the External Louvre Vent.
Step 5: Sealing and Finishing
After inserting the outlet, it's important to seal any gaps around it to prevent air leakage. You can use caulk or weatherstripping to seal the edges of the outlet. This will not only improve the efficiency of the ventilation system but also prevent dust and insects from entering through the gaps.
Once the sealing is done, you can do some finishing touches. You might want to paint the outlet to match the color of the wall or add some decorative elements to make it blend in better with the overall decor of the room.
Step 6: Testing the Airflow
After the installation is complete, it's time to test the airflow. Turn on the ventilation system and feel the air coming out of the outlet. Make sure the airflow is even and that the outlet is working properly. If you notice any issues, such as uneven airflow or strange noises, you might need to check the installation again and make some adjustments.
Why Choose Our Strip Air Outlets
As a supplier of strip air outlets, we offer high - quality products that are designed to meet your ventilation needs. Our outlets are made from durable materials and are available in a variety of sizes and styles. Whether you're looking for a simple and functional outlet or a more decorative one, we've got you covered.
If you're interested in purchasing our strip air outlets or have any questions about the installation process, don't hesitate to reach out. We're here to help you make the right choice for your space.
In conclusion, installing a strip air outlet in a partition wall is a relatively straightforward process if you follow the steps carefully. With the right tools, planning, and a bit of patience, you can have a well - functioning and aesthetically pleasing air outlet in no time. So, why wait? Start your installation project today and experience the benefits of a properly installed strip air outlet.
If you're ready to take the next step and purchase our strip air outlets, or if you have any questions about our products, feel free to contact us for a consultation. We're eager to work with you and help you find the perfect solution for your ventilation needs.
References
- HVAC Installation Guidebooks
- Manufacturer's Instructions for Strip Air Outlets